
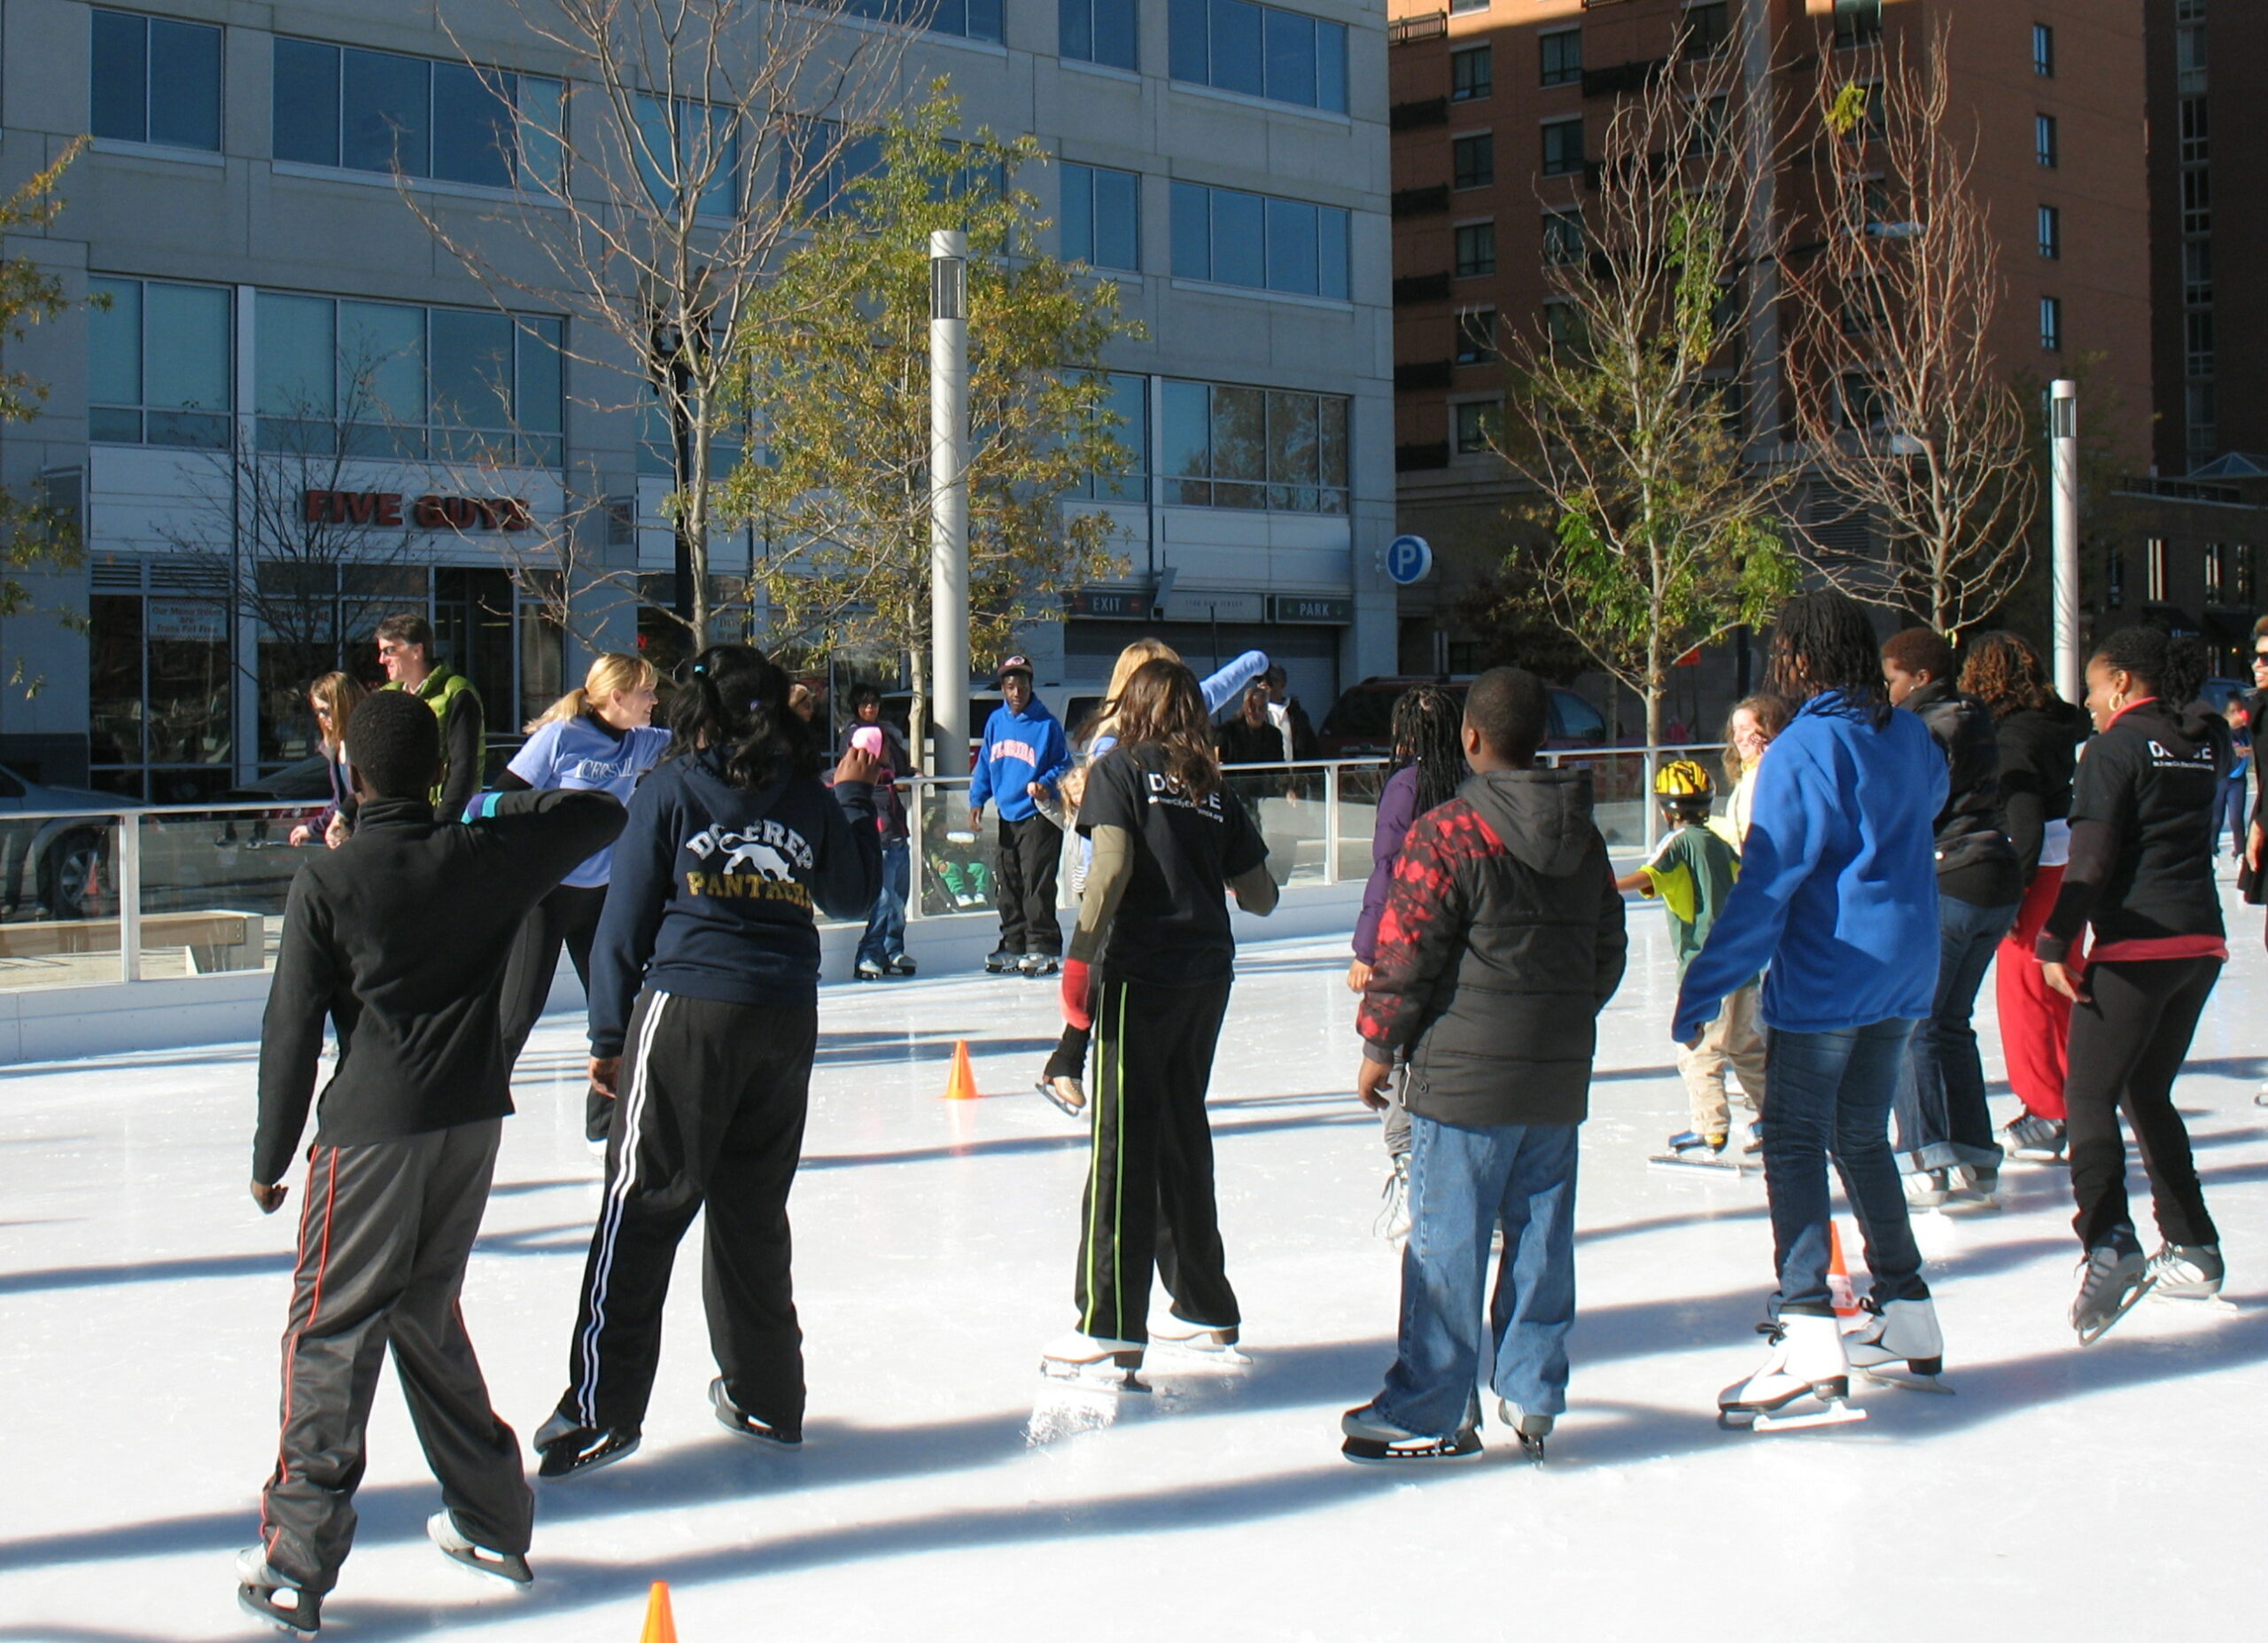
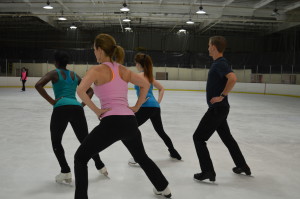
Icersize is fun to do in a group!
We can help you organize your own class. It doesn't matter if you know how to skate. Icersize is for all levels of ability.

We can help you organize your own class. It doesn't matter if you know how to skate. Icersize is for all levels of ability.
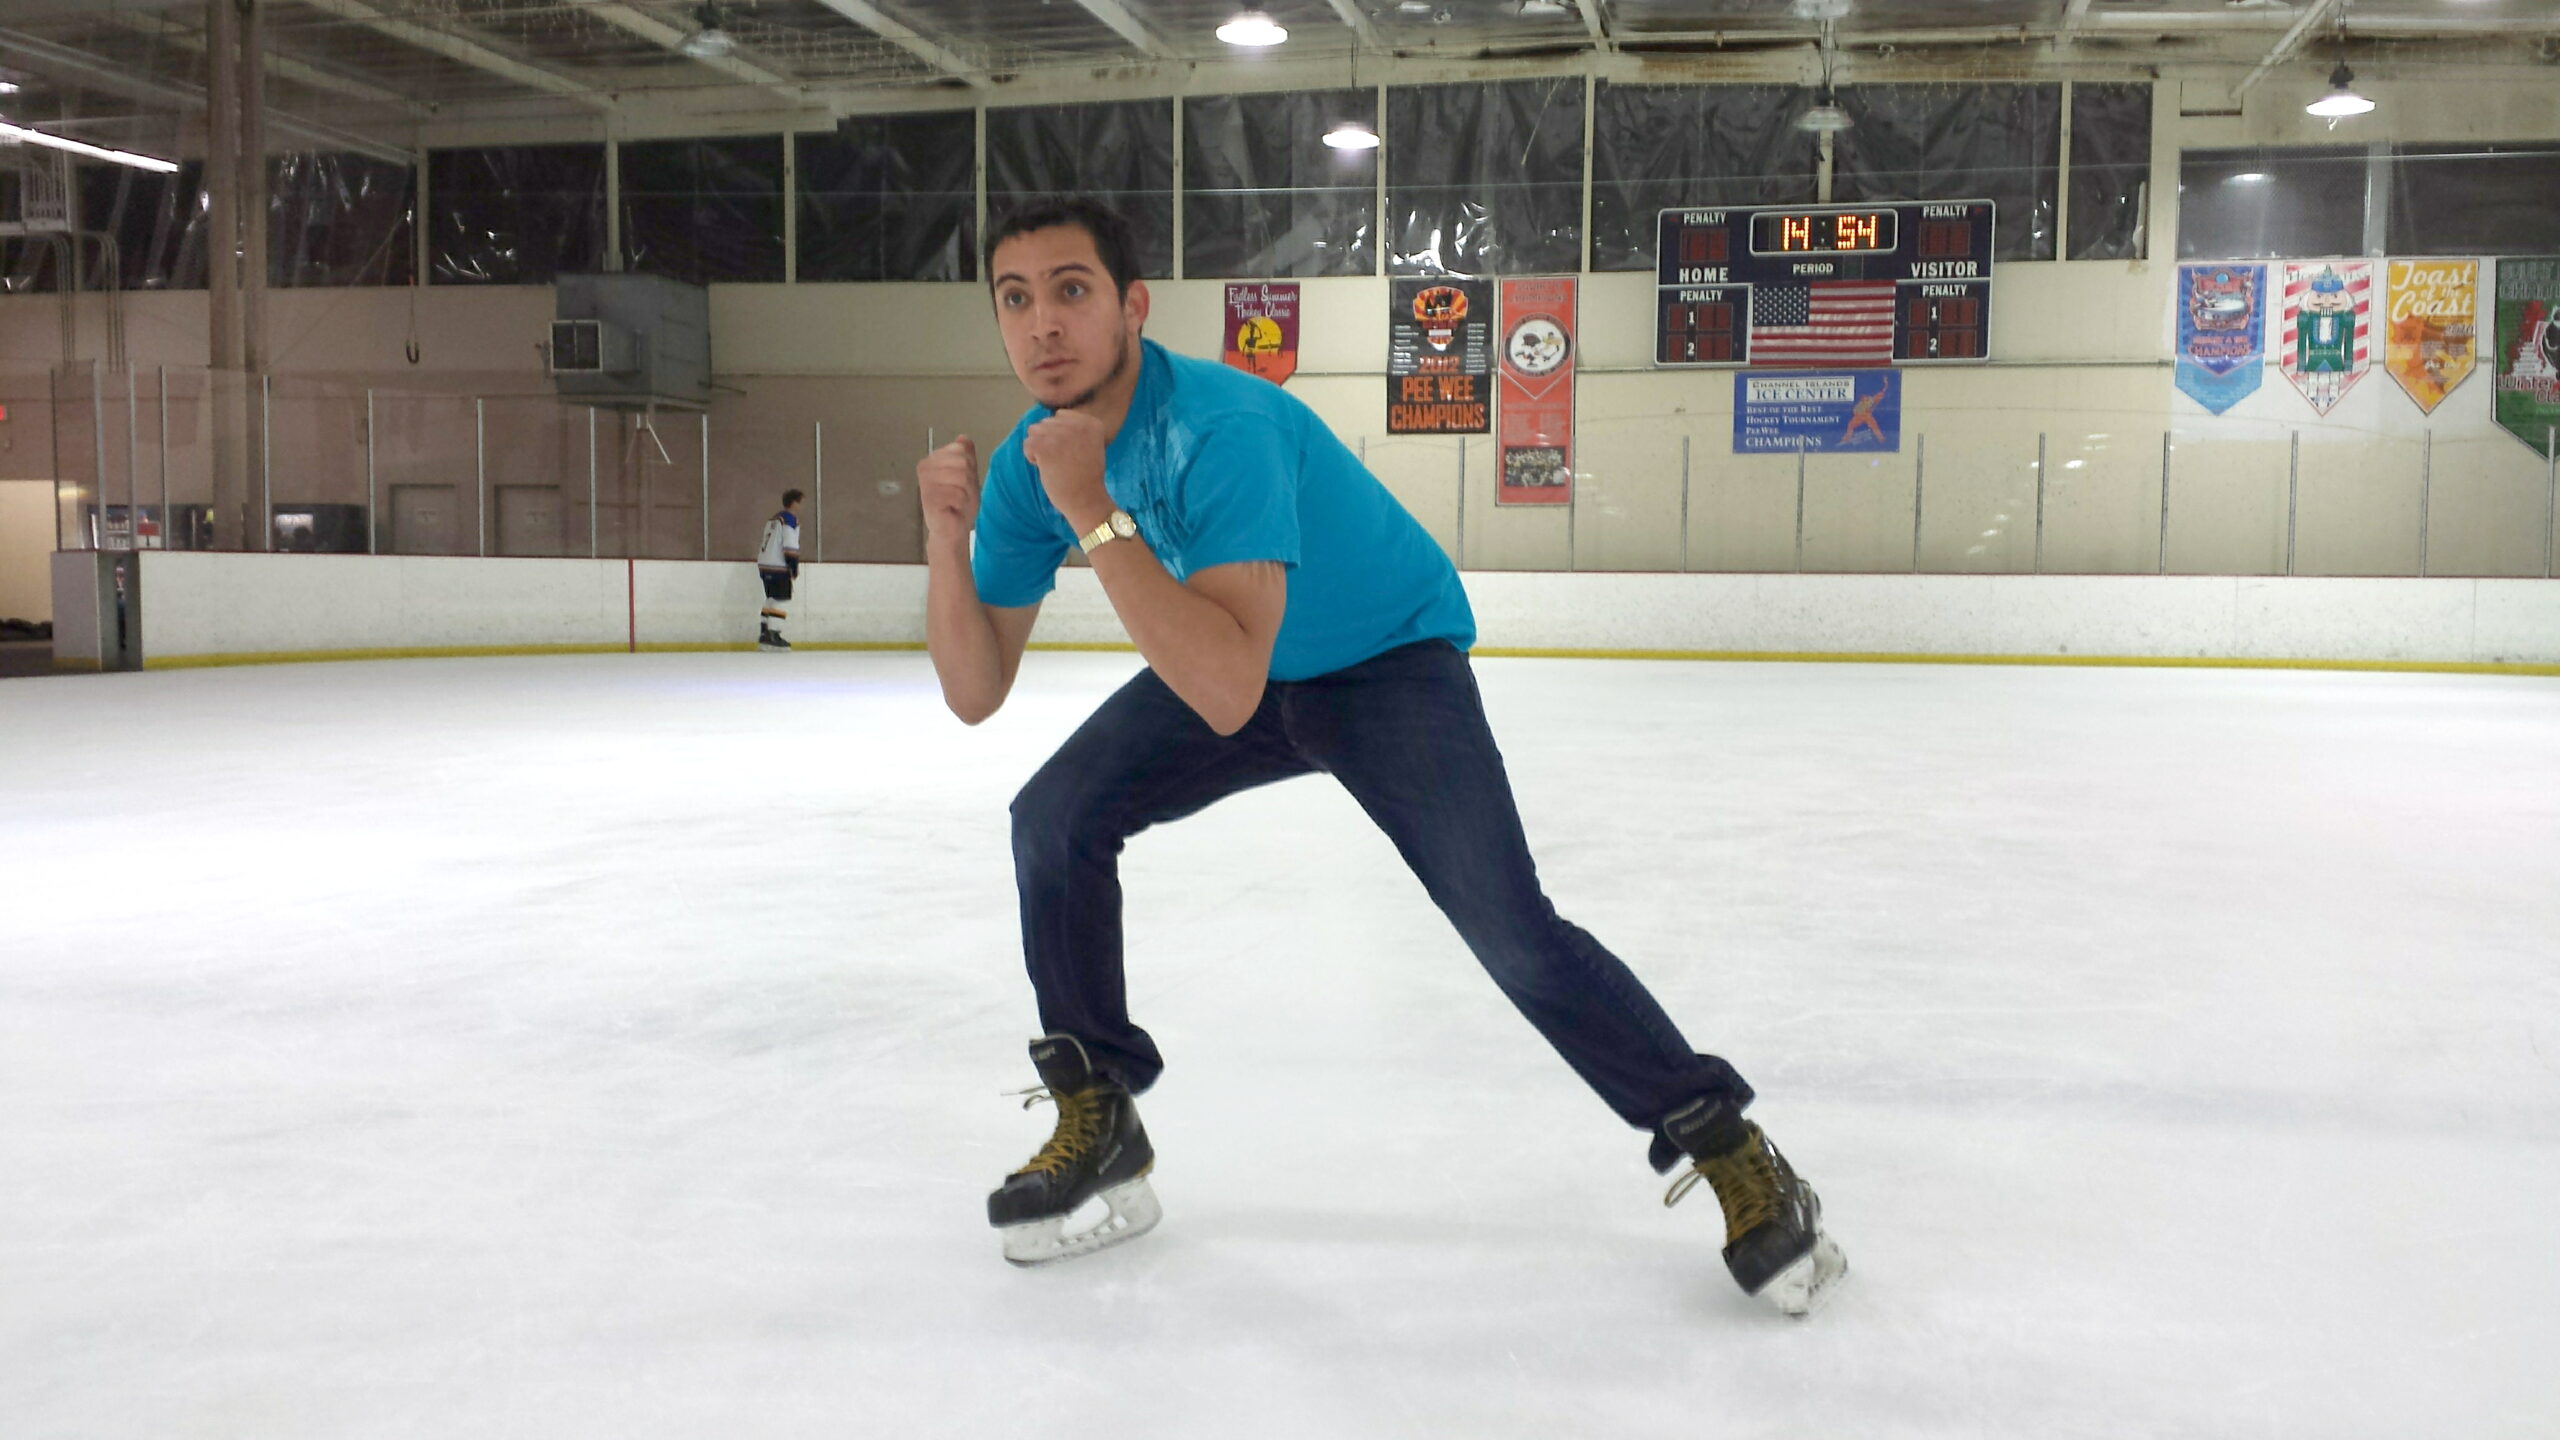
Icersize routines help build skating technique for hockey players too..
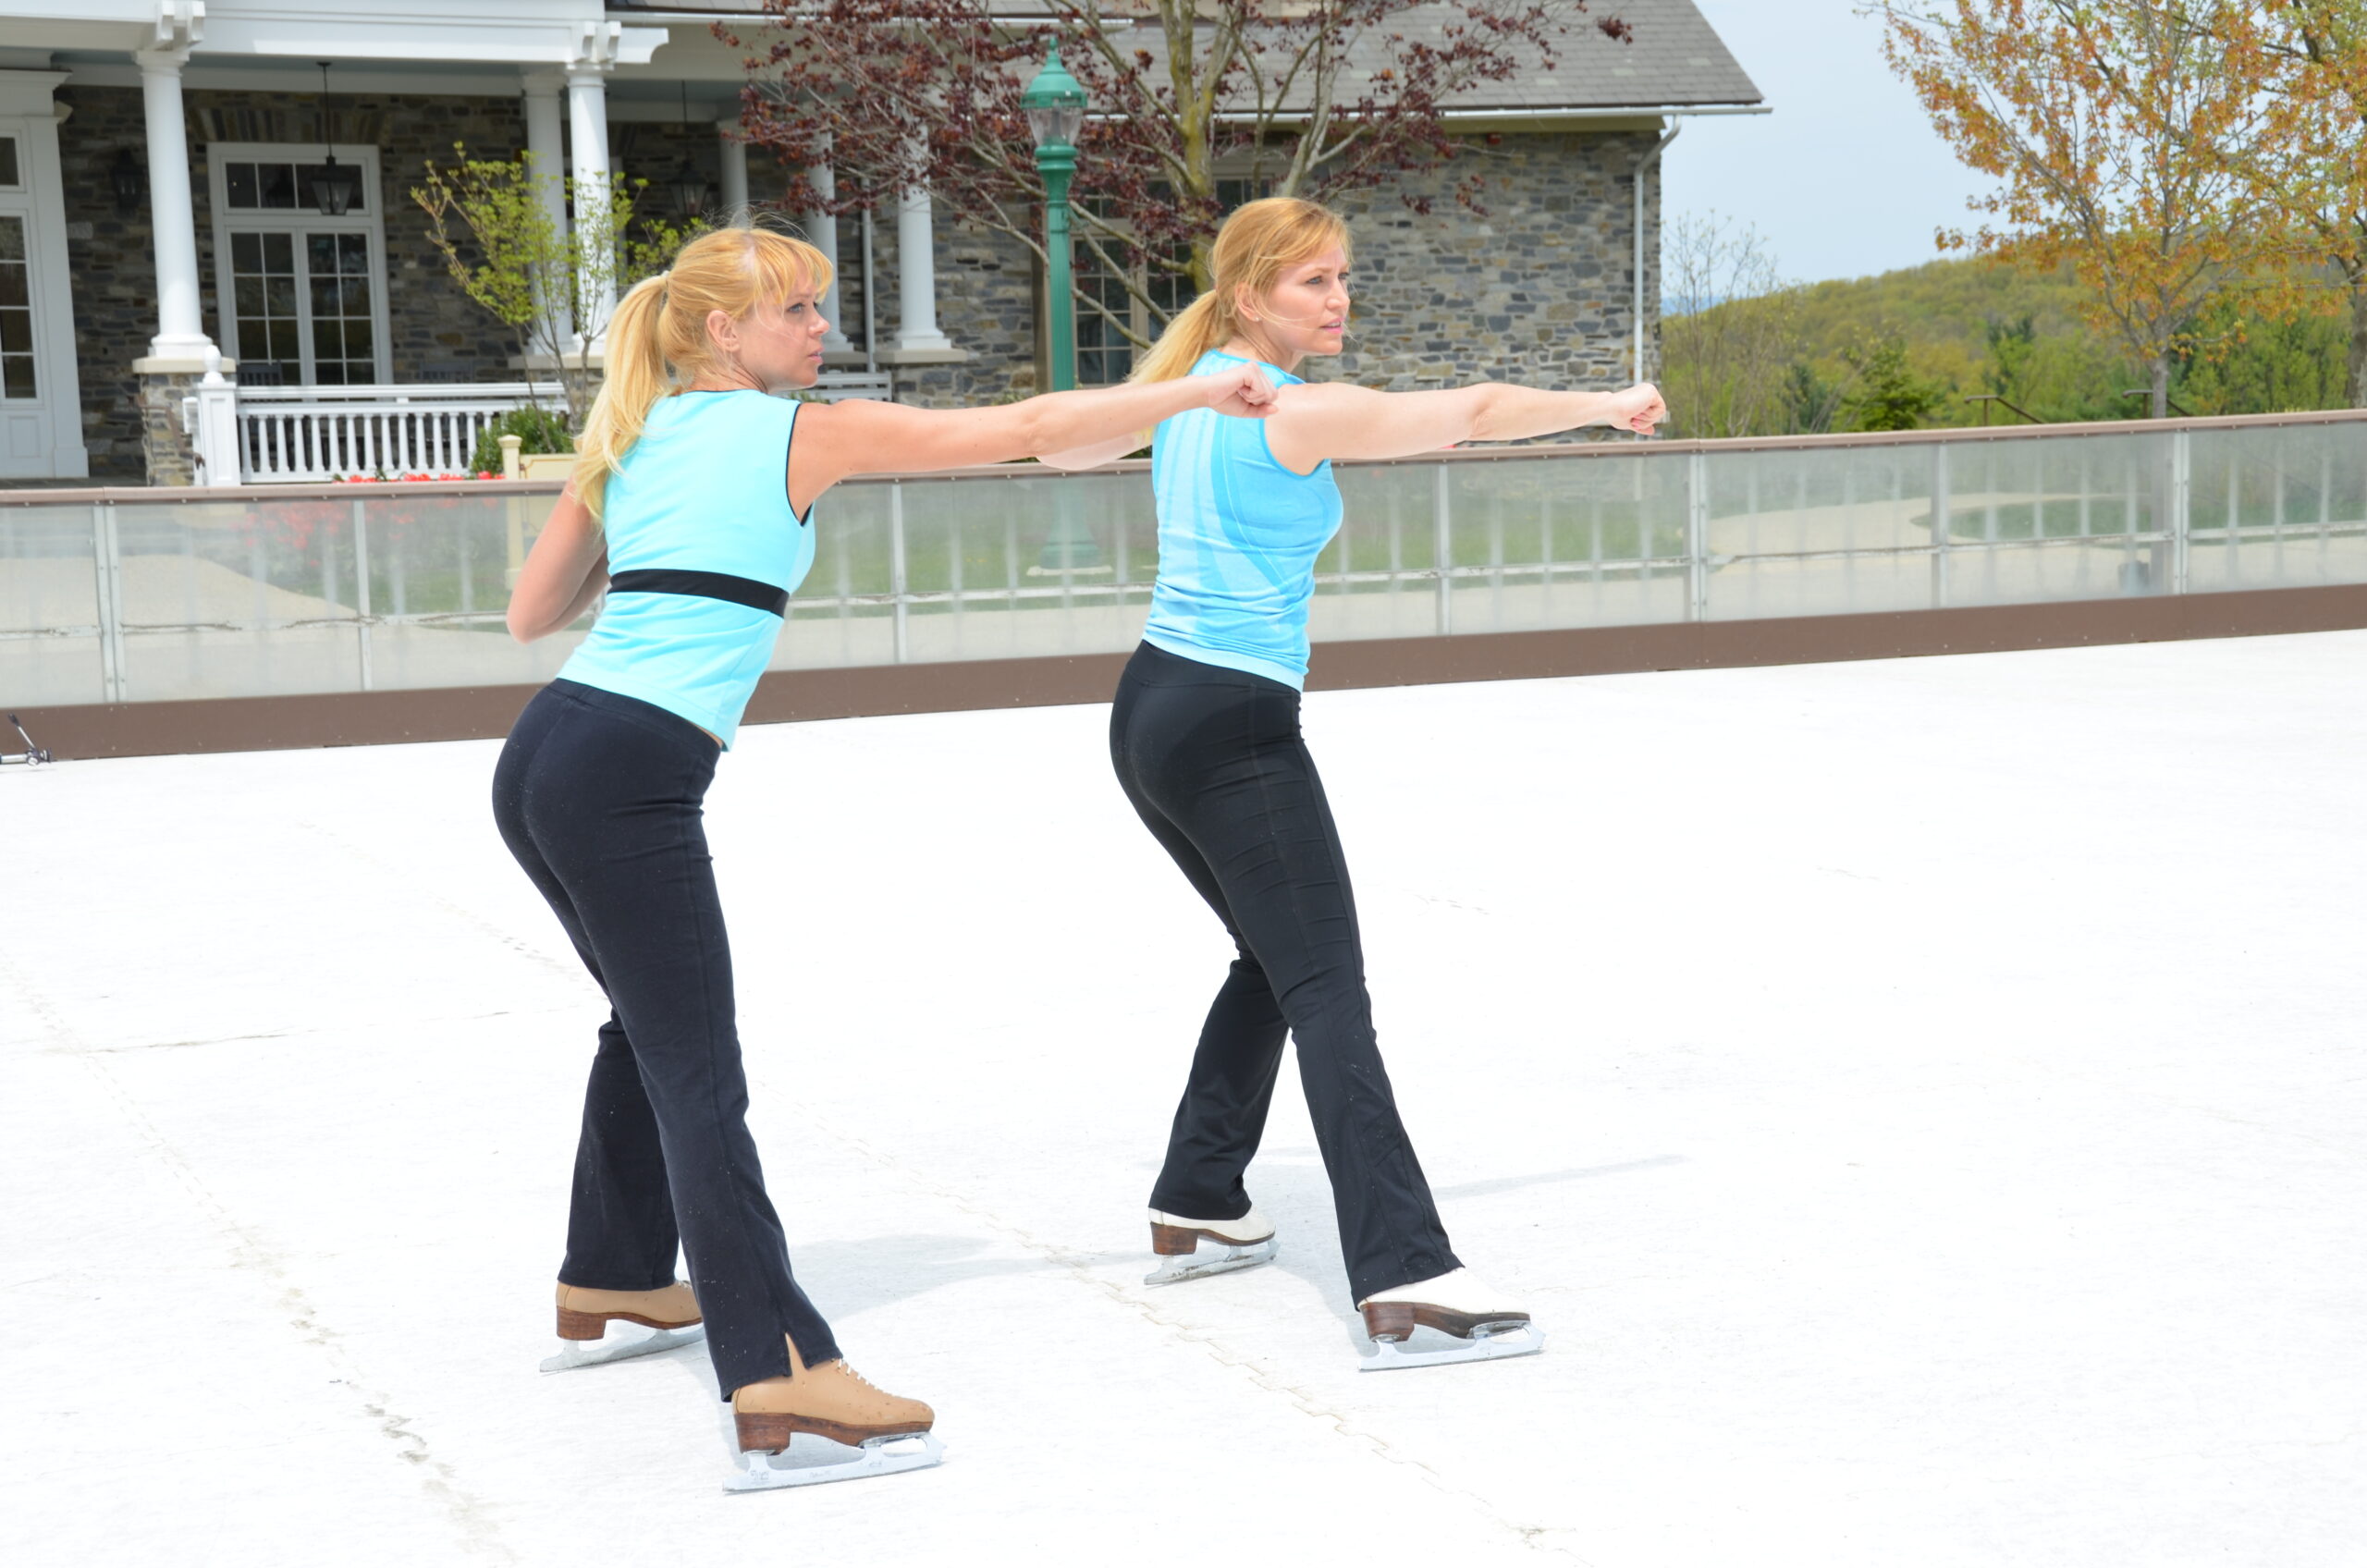
Yes! You can Icersize outside.
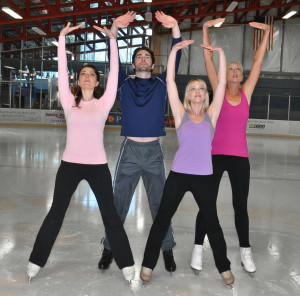
Have an Icersize party!
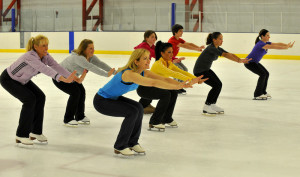
Level 1 can be done by both beginners and more advanced skaters. It doesn’t matter how experienced you are as a skater to get a really super workout! Your workout depends on the intensity of your effort! Participants utilize the following techniques in a 30 to 45 minute structured class to music:
Level 2 contains techniques that require balancing on one leg so be sure that you are comfortable with the techniques of level one before adding these routines to your workout. Some of the techniques utilized in this level consist of the following:
Ice Skating is one of the best forms of aerobic, low-impact exercise. It has also been proven that exercising in cold temperatures makes the body burn more calories and fat! It is TRUE! Plus, since ice skating is low impact, it is softer on your knee and ankle joints.
The amount of calories you burn while doing an ICERSIZE workout will depend upon three things:
For example, a person who weighs 120 lbs. can burn between 500 to 1000 calories in one hour depending on how hard they are skating.
Below is an example of how many calories are burned in aLIGHT 30 minuteICERSIZE workout.
Weight Approximate Calories burned in a LIGHT 30 min. workout
275 to 300 lbs 550 kcal
250 lbs 500 kcal
225 lbs 450 kcal
200 lbs 400 kcal
175 lbs 350 kcal
150 lbs 300 kcal
140 lbs 270 kcal
130 lbs 260 kcal
120 lbs 250 kcal
Cold Weather Work Out Benefits
Are there special workouts which can enhance fat breakdown during the cooler part of the year? Basically, 60-minute bouts of exercise in nippy air, during which you attempt to push up the intensity a little rather than just poking lethargically along, are fantastic for breaking down fat, and slight adjustments in your workout schedule can also force the fat-burning fires to kindle with particular intensity.
 Skating across the ice is an incredible feeling! Figure skating requires the athletic endurance of a marathon runner and the aesthetic agility of a ballet dancer. Because it requires such mastery of the gravitational forces, the personal rewards are indescribable. We can do things on frozen water that would be incomprehensible to do on solid ground. To find out how we are able to perform such dazzling feats on the ice, we look to the science of physics.
The weight of the human body is concentrated and compressed onto the few inches of steel blade. The steel blade comes in contact with the ice. The concentrated compression of weight produces heat. This heat melts the ice underneath it producing water. This in turn produces energy and movement. If you stood perfectly still on the ice, with your weight distributed evenly, you would start to glide. This is physics at work. The ice is melting underneath your blades and you are moving!
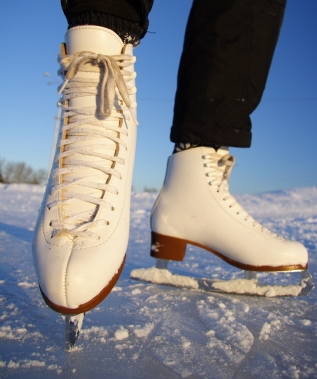
“Selecting Equipment, Boots and Blades, Maintenance of Skates”
Rule # 1…. Get a good pair of skates!
Rental skates may not give you the best support or fit that you need. Professional figure-skates are much different from the figure-skates sold in department or sporting goods stores. They are of much better quality and cost more money. Currently, you can get a good starter, stock boot with blades attached anywhere from $50.00 to $90.00 depending on the size of your foot. Anyone interested in pursuing the sport seriously should invest in a good pair of skates. Prices go up according to the quality of the boot and blades. It is not uncommon to spend over $1000.00 for really good skates.(But unless you are planning on jumping and spinning and pursuing skating seriously, you don’t have to spend that kind of money.) One thing to note is that boots and blades are sold separately, with the exception of the least expensive stock boot. This allows the skater to obtain specific equipment for his or her needs. The place where you purchase your skates should help you decide what kind of boots and blades are right for you. For the typical beginner, a stock boot may be purchased with the blade already attached. This is fine. But as the skater advances and starts to jump and spin, more support in the ankle is required, so you would want to purchase a more advanced, thicker boot. You would also want to purchase a blade with a more pronounced toe-pick, such as the “Pattern 99.” This toe-pick sticks much further out from the boot and is good for jumping and spinning. For the beginner, the “Pattern 99” toe-pick would only frustrate the skater, who might trip more easily over it.
Unless you have purchased a stock boot and blade, the next step is to have the blades professionally attached to the boots. DON’T TRY TO DO THIS YOURSELF!! You could ruin the boots completely. There is a precise method to drilling a hole into the bottom of the boot. If the hole is too big-TOO BAD! Your blade won’t be screwed in tightly and could come loose. When the blade no longer attaches snugly to the boot, the boot is said to be “stripped.” A boot can become stripped through improper drilling or from long, continued use. The sole of the boot is usually made of leather. As skates are used, the leather eventually becomes water-logged and will no longer secure the blade. When this happens, a skate repair shop might be able to plug the holes with putty or wood. But this is only a temporary solution.
After every skating session, no matter how long it is, you should dry the bottom of the boot and blade with a towel. This will prevent water from soaking into the leather and prolong the life of your skates. Drying the blade also prevents rust from forming on the steel and keeps the edges sharp. You will probably need to purchase blade booties, called “soakers” to keep the blade free from moisture while in storage. And an absolute must for proper blade maintenance are “guards”. Wear your guards over your blades whenever you are not on the ice and/or walking around. Guards keep the blades from getting nicked and dulled.
Before the blades are attached to the boot, the sole of the boot must be water-proofed. I recommend a wax treatment. The skating shop should have leather conditioners and enamels used specifically for this purpose. The boot should be clean and dry when you are applying the water-proofer. You should also allow approximately 24 hours for the boot to dry after the application of the enamel or wax. And only after the boot is thoroughly dry should the blades be attached.
When you are having your blades attached, the salesman will put only one screw in the front and back of each blade in an adjustable slot. The adjustable slots allow the blade to be moved around on the boot so the skater can find the correct placement. Once this is done, the skater should see if the blade feels right in that position on the ice. If the blade is placed correctly, it will feel centered under the body and should not favor the inside or outside of the body’s weight. Everyone has a different line of balance. The blade may look like it is too much to the inside or outside of the boot, but that isn’t the way to tell if the blade is correctly placed. The way to find out is through skating on it and making sure it feels centered under your body. Once the correct placement is determined, the salesman will permanently attach the blade.
I am often asked by skater’s parents how I feel about purchasing second-hand skates. Used skates are fine if they aren’t too broken down. They are also a good alternative to new skates, especially in the smaller sizes. Because childrens feet grow so quickly, children often outgrow their skates before the skates are broken down. So, there are usually a lot of good used skates available at very reasonable prices. You can generally find used skates in skating shops located in rinks affiliated with figure-skating clubs.
 When you are purchasing used skates, here are a few important things to consider:
A new blade has approximately 1/8th of an inch of tempered steel on the bottom. The texture of this portion is not as shiny as the rest of the blade. As the blade is used, the edge on the bottom becomes dull. The blade must then be sharpened by a professional. Sharpening the blade shaves away this tempered steel, so when you are buying a used pair of skates be sure to inquire about how much more the blade can be sharpened.
Last but not least, PLEASE don’t buy skates that are a size bigger than the skater’s foot with the intention that they will grow into them and last longer! Serious injuries can take place from skates that are just a little bit too big.
Understanding the Blade and the Four Edges
At the front of the figure-skating blade, you will find the jagged toe-pick. Hockey skates and speed skates don’t have them. That is the main reason why it is almost impossible to spin or jump in hockey or speed skates! We’re all afraid of toe picks; they look like something from a Terminator motion picture. If I make a mistake and push them down too quickly or hard, I’ll destroy the ice and go flying ten yards.
What you have to know is that the figure-skating blade is actually curved slightly on the bottom. At any given time, only about four inches of the blade are actually touching the ice. The toe picks are at the peak of this curve, so they are above the ice. To get them to scratch into the ice, you have to lean forward or otherwise change the placement of your weight.
There are different kinds of blades, each with its own curvature and toe-pick design. The bottom of the blade has edges. On each skate, you have an outside edge (the one away from your body) and an inside edge (the one nearest the other foot). If you stand straight up with no pressure to either side, you are on the “flat of the blade.” A flat is used for straight lines. But if you apply pressure on either side of your foot, you will create an inside or outside edge. When you are on an edge, you will skate on a curve or circle as in a Figure Eight. There are four edges: right outside, right inside, left outside, and left inside (abbreviated RO, RI, LO, and LI, respectively).
Skating is a series of edges, and edges form circles. To form an edge, you have to lean into or out of the circle. If you lean into or out of an edge with your entire body weight, you will fall. To prevent that disaster, you have to use a shoulder, hip, arm(s) or leg(s) to counterbalance the lean of the rest of the body; the part or parts of the body used to counterbalance you is said to be in a “checked” position.